Advanced Canvas Drawing Techniques in OmniCanvas
Free spatial notes
Put this workflow on an infinite canvas instead of another linear doc.
OmniCanvas runs in the browser, syncs with the Mac app, and starts free.
Why Drawing Technique Matters on an Infinite Canvas
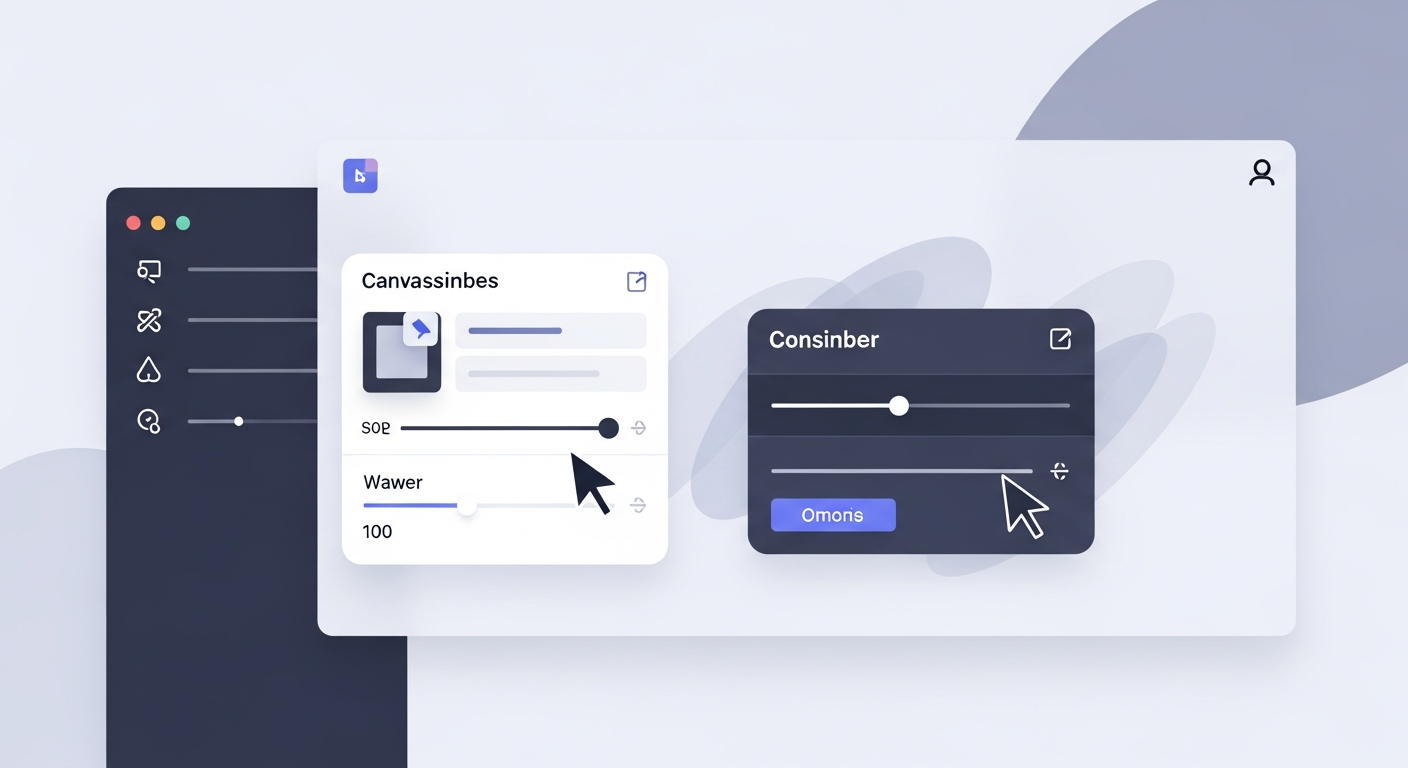
Most people start with OmniCanvas by dropping sticky notes and typing text. That alone is powerful, but the real magic happens when you use the full Excalidraw-based drawing toolkit to create visual explanations, diagrams, and illustrations right alongside your notes. Once you move beyond basic shapes, your canvas becomes a true thinking surface where ideas take visual form.
This guide covers six advanced techniques that will transform the way you draw in OmniCanvas. If you are new to the canvas, the beginner's tutorial covers the basics first.
Layering Elements for Depth and Clarity
One of the most underused capabilities in OmniCanvas is deliberate layering. Every element you place on the canvas has a stacking order. You can bring elements forward or send them backward to create layered compositions.
Practical layering strategies:
- Draw a large, lightly filled rectangle as a background zone, then send it to the back. Place sticky notes and shapes on top of it to create a visually grouped region.
- Use semi-transparent shapes as overlays to highlight areas of a complex diagram without hiding the content beneath.
- Stack multiple shapes to build composite icons or symbols that you cannot create with a single tool.
The key insight is that your canvas is not flat. Think of it as a stack of transparent sheets. By controlling which layer each element sits on, you create drawings that communicate hierarchy and grouping at a glance.
Using Opacity to Communicate Priority
Not every element on your canvas deserves the same visual weight. Opacity is your tool for creating a visual hierarchy without deleting or hiding anything.
Try these approaches:
- Set background zones to 20-30 percent opacity so they tint the area without competing with foreground content.
- Use full opacity for current, active elements and reduce opacity on archived or lower-priority items.
- Create "ghost" versions of shapes at low opacity to indicate planned but not yet confirmed elements in a project diagram.
This technique is especially powerful in project planning canvases where you want to see the full picture but need active tasks to stand out visually.
Combining Shapes to Build Complex Diagrams
Individual rectangles, circles, and arrows are building blocks. The real skill is combining them into meaningful diagrams. OmniCanvas gives you the full Excalidraw shape library, which means you can build anything from flowcharts to system architecture diagrams.
Flowcharts and Decision Trees
- Start with a rectangle for each process step.
- Use diamonds for decision points.
- Connect them with arrows, and label each arrow with the condition or outcome.
- Group related steps by placing them on a shared background rectangle.
System Architecture Diagrams
- Use rectangles for services or components.
- Use rounded rectangles for databases or storage layers.
- Draw arrows to show data flow, and label each with the protocol or data type.
- Add sticky notes next to complex components to capture explanations or open questions.
Mind Maps
- Place your central topic as a large shape in the middle of the canvas.
- Draw lines outward to subtopic shapes.
- Use color to group related branches.
- Add freehand annotations or small sketches at the leaf nodes.
The infinite canvas means you never run out of room. Let your diagrams grow naturally and reorganize them as your understanding evolves.
Smart Shapes: From Rough Sketch to Clean Output
OmniCanvas includes Smart Shapes, an AI-powered feature that recognizes your freehand drawings and converts them into clean geometric shapes (see our full Smart Shapes guide). This is a game-changer for people who think by sketching but want polished output.
How to get the best results from Smart Shapes:
- Draw deliberately. A single confident stroke for each line or curve works better than sketchy, overlapping strokes.
- Pause briefly after completing a shape so the recognition engine can process it.
- Draw closed shapes when you want filled rectangles, circles, or triangles. Leave shapes open when you want lines or arrows.
- If Smart Shapes misinterprets your intent, undo and try again with a slightly more exaggerated version of the shape. For example, make corners sharper for rectangles or curves rounder for circles.
Smart Shapes is particularly useful for creating professional-looking diagrams during meetings or brainstorming sessions. You sketch naturally, and the tool cleans up after you.
Mixing Freehand and Geometric Elements
Some of the most effective canvases combine the warmth of hand-drawn elements with the precision of geometric shapes. This is not just an aesthetic choice. It communicates something meaningful: geometric shapes feel structured and decided, while freehand elements feel exploratory and in-progress.
Practical combinations:
- Use geometric rectangles and arrows for the confirmed parts of a workflow, and freehand circles and squiggly lines for the parts you are still figuring out.
- Annotate clean diagrams with freehand arrows and handwritten notes to add context without making the diagram itself more complex.
- Create hand-drawn borders or dividers to separate canvas zones in a way that feels organic rather than rigid.
This mixed approach works because it mirrors how real thinking works. Some ideas are firm and structured. Others are fuzzy and evolving. Your canvas should reflect that.
Putting It All Together: A Complex Canvas Example
Imagine you are planning a product launch. Here is how you might combine all of these techniques on a single canvas:
- Create three large, low-opacity background rectangles as zones: Pre-Launch, Launch Day, and Post-Launch.
- Within each zone, draw a flowchart using geometric shapes for confirmed tasks and freehand shapes for tentative ones.
- Layer sticky notes on top of the flowchart to capture detailed notes about specific tasks.
- Use Smart Shapes to quickly sketch status icons next to each task.
- Connect related tasks across zones with arrows to show dependencies.
The result is a single canvas that serves as both a high-level plan and a detailed reference. You can zoom out to see the full picture or zoom in to work on any specific area. That is the power of advanced drawing in OmniCanvas.
Ready to try spatial notetaking?
OmniCanvas is a free infinite canvas app for notes, sketches, and ideas.
Try OmniCanvas FreeNo credit card — or explore the interactive demo first, no account needed.
Keep reading
Smart Shapes: How AI Shape Recognition Makes Drawing Faster
OmniCanvas Smart Shapes uses AI to recognize your hand-drawn shapes and clean them up automatically. Learn how to use this feature for cleaner diagrams.
LifeJournaling on a Canvas: Prompts and Techniques for Deeper Reflection
How canvas journaling differs from linear journaling, with spatial prompts, techniques for visual reflection, and combining drawing with writing.
Getting StartedYour First Canvas: A Step-by-Step Walkthrough
A focused tutorial on creating your first canvas note — drawing shapes, adding text, using sticky notes, and saving your work.