The Feynman Technique: Learn Anything with Spatial Notes
Free spatial notes
Put this workflow on an infinite canvas instead of another linear doc.
OmniCanvas runs in the browser, syncs with the Mac app, and starts free.
The Feynman Technique: Learn Anything with Spatial Notes
Richard Feynman was famous not just for his physics but for his extraordinary ability to explain complex ideas in simple language. His learning method, now called the Feynman Technique, is one of the most effective ways to truly understand any subject. When you combine it with a spatial canvas, each step becomes visual, tangible, and far easier to iterate on.
What Is the Feynman Technique?
The technique has four steps:
- Choose a concept you want to understand.
- Teach it in simple language as if explaining to someone with no background in the subject.
- Identify gaps where your explanation breaks down or feels vague.
- Go back to the source material, fill the gaps, and simplify your explanation further.
The magic is in step three. Most people think they understand something until they try to explain it plainly. The gaps reveal exactly where your understanding is shallow.
Why Spatial Notes Make This Better
On a traditional document, the Feynman Technique becomes a wall of text. You write your explanation, then somehow have to mark the weak spots, then rewrite. It is hard to see the structure of your understanding at a glance.
On a spatial canvas, each step gets its own zone. You can literally see where your knowledge is strong and where it falls apart, because the gaps show up as empty space or clusters of question marks.
Setting Up Your Canvas
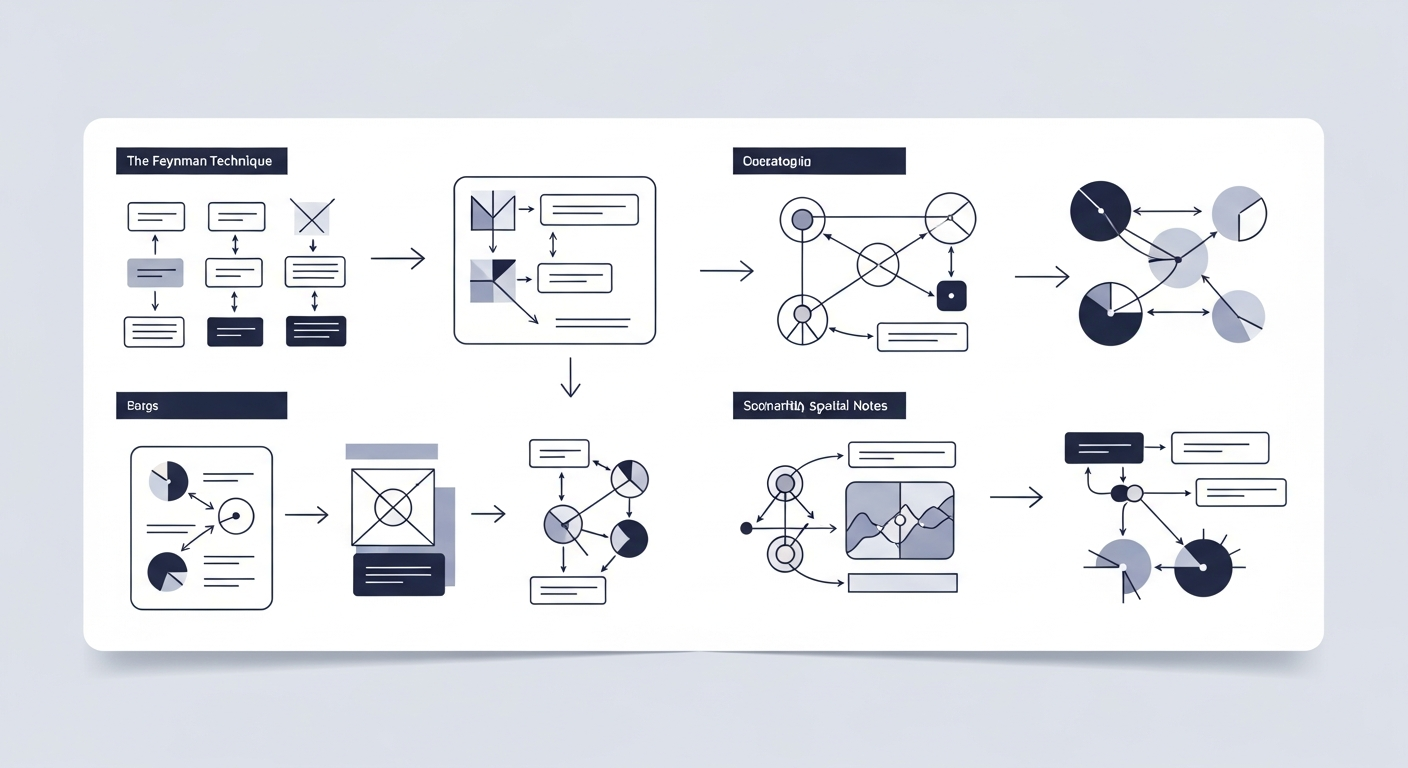
Divide your canvas into four quadrants or horizontal lanes. Here is one layout that works well:
Top-left: The Concept Zone. Place the name of the concept here, along with any formal definitions or key equations. This is your reference area.
Top-right: The Simple Explanation Zone. Write your plain-language explanation here. Use short text blocks, one idea per block. Imagine you are explaining to a curious twelve-year-old.
Bottom-left: The Gap Zone. As you write your simple explanation, you will hit moments where you think "wait, I am not sure why that works" or "I am hand-waving here." Drag those uncertain pieces down into this zone. Each gap becomes its own card.
Bottom-right: The Refined Explanation Zone. After you research and fill each gap, write the improved explanation here. This becomes your final, clean understanding.
Walking Through an Example
Say you want to understand how public-key cryptography works.
In the Concept Zone, you place the formal definition and the names of the key ideas: key pairs, encryption, decryption, trapdoor functions.
In the Simple Explanation Zone, you start writing: "Two keys are created together. One is public, one is private. Anyone can use the public key to lock a message, but only the private key can unlock it." You keep going, and then you hit a wall: why can the public key not reverse its own encryption? You know it has something to do with math, but you cannot explain it simply.
That uncertainty goes into the Gap Zone as a card: "Why is encryption one-way? Something about prime factoring?"
Now you go back to your textbook or a good article. You learn about trapdoor functions and how multiplying two large primes is easy but factoring the product back into those primes is computationally impractical. You write a clearer explanation in the Refined Zone: "Multiplying two huge prime numbers takes a computer a fraction of a second. Reversing that multiplication — figuring out which two primes were used — would take longer than the age of the universe. That asymmetry is what makes the public key safe to share."
Tips for Getting the Most Out of This Method
Use color to indicate confidence. Give your text blocks a green background when you feel solid, yellow when you are mostly sure, and red when you are guessing. After one pass, the colors instantly reveal how well you understand the topic.
Keep the simple explanation truly simple. If you use jargon, you are cheating. Move that jargon into the Gap Zone and force yourself to unpack it.
Iterate visually. After filling your gaps, try rewriting the entire Simple Explanation Zone from scratch. Compare the two versions side by side on the canvas. The improvement is usually dramatic and motivating.
Link related concepts. If your gap research leads you to a related concept you also want to learn, start a new Feynman canvas for it and draw an arrow connecting the two. Over time you build a web of deeply understood ideas. In OmniCanvas, you can keep all of these on a single infinite surface and zoom between them.
When to Use This Technique
The Feynman Technique is especially powerful for:
- Exam preparation. Instead of rereading notes, actively test your understanding by explaining topics simply — a natural complement to Cornell notes when you study for exams.
- Learning new technical skills. Programming concepts, mathematical proofs, and scientific principles all benefit from forced simplification.
- Preparing presentations. If you can explain something simply on your canvas, you can explain it simply to an audience.
- Onboarding at a new job. Map out the systems and processes you need to learn, then Feynman each one.
The Spatial Advantage
The reason this works so much better on a canvas than in a linear document is that understanding is not linear. Concepts connect in webs, not chains. When you lay out the Feynman steps spatially, you preserve the relationships between ideas. You can glance at your canvas and instantly know where you stand. That visual feedback loop is what turns the Feynman Technique from a good study habit into a genuinely powerful learning system.
Ready to try spatial notetaking?
OmniCanvas is a free infinite canvas app for notes, sketches, and ideas.
Try OmniCanvas FreeNo credit card — or explore the interactive demo first, no account needed.
Keep reading
The Box Method: Note-Taking for People Who Think in Chunks
The box method groups notes into visual containers, one box per topic. Learn why spatial chunking improves recall, when boxing beats outlining, and how to use the Box Method template in OmniCanvas.
TechniquesThe Outline Method: The Fastest Way to Take Notes in Meetings and Lectures
The outline method is the best note-taking technique for live capture — meetings, lectures, and calls. Learn how it works, when to use it, and how to start from a template in OmniCanvas.
SeasonalSummer Reading List: How to Organize Books and Reading Notes on a Canvas
Track your reading list, capture book notes, connect ideas across books, and build a visual reading library on a spatial canvas.