Back to School: Set Up Your Digital Notetaking System in 30 Minutes
Free spatial notes
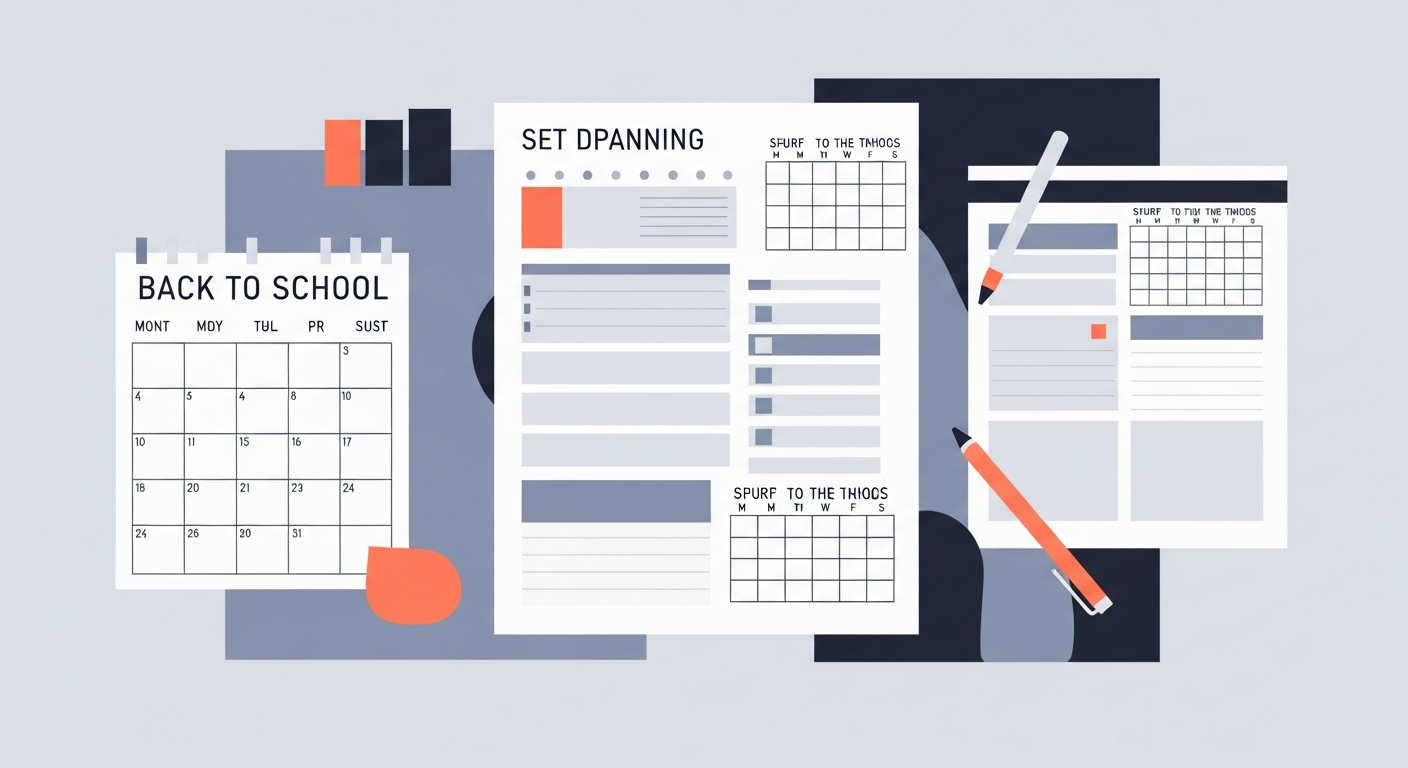
Put this workflow on an infinite canvas instead of another linear doc.
OmniCanvas runs in the browser, syncs with the Mac app, and starts free.
Why Your First Week Matters More Than You Think
Every semester, students tell themselves the same thing: "This time I will stay organized." By week three, notes live in five different apps, file names look like "untitled-37," and the carefully planned folder system is already abandoned. The problem is rarely motivation. The problem is that most students never spend thirty focused minutes building a system before the chaos begins.
This guide walks you through a complete digital notetaking setup you can finish in a single sitting. No complicated workflows, no expensive tools, and no prior experience needed.
Step 1: Choose One Primary Tool (5 Minutes)
The biggest mistake students make is splitting notes across too many apps. Pick one primary home for your class notes. Here is what to consider:
- Flexibility. Can you mix text, sketches, diagrams, and images in the same note? Courses like biology or architecture demand visual space, not just a text editor.
- Search. Can you find a note from three weeks ago in under ten seconds? Full-text search is non-negotiable.
- Access. Will you need your notes on a laptop during lectures and on your phone while commuting? Check that your tool works across devices or syncs to the cloud.
- Simplicity. If a tool requires a YouTube tutorial to learn, it will become a procrastination project instead of a study aid.
A spatial canvas tool like OmniCanvas works well here because it handles text, drawings, and freeform layout in one place, so you are not bouncing between a word processor for text and a separate app for diagrams.
Step 2: Create Your Folder Structure (10 Minutes)
A simple, consistent folder structure prevents the "where did I put that?" problem. Use this template and adjust to your schedule:
- Create a top-level folder named with the semester and year, for example "Fall 2027."
- Inside that folder, create one subfolder per course using the course code and short name, for example "CS201 - Data Structures."
- Inside each course folder, create three subfolders: "Lectures," "Assignments," and "Review."
That is it. Three levels deep, predictable naming, and every note has an obvious home. Resist the urge to add more subfolders before you need them. You can always reorganize later, but over-engineering the structure now leads to decision fatigue every time you create a new note.
Naming Conventions That Save Time
Use a date prefix for lecture notes so they sort chronologically: "2027-09-05 Linked Lists" is easier to scan than "Linked Lists Lecture." For assignments, lead with the assignment number: "HW3 - Binary Search Trees."
Step 3: Set Up Your Note Templates (10 Minutes)
Templates remove friction. When you sit down in a lecture hall, you should not be deciding how to format your notes. Create a simple template for each type of note you take — or start from a Cornell notes template:
Lecture Note Template:
- Date and topic at the top
- A section for key concepts
- A section for questions you want to ask later
- A section for connections to previous lectures
Assignment Note Template:
- Assignment title and due date
- Requirements summary in your own words
- Space for your working notes and drafts
- A checklist of deliverables
Review Note Template:
- Topic or exam name
- Key terms and definitions
- Practice problems or sample questions
- Areas where you feel least confident
If you are using a spatial canvas, you can lay these sections out side by side instead of stacking them vertically. This makes it easier to see the full picture of a lecture at a glance.
Step 4: Establish Three Simple Habits (5 Minutes to Decide, a Lifetime to Master)
Your system only works if you use it consistently. Commit to these three habits:
- Capture immediately. When a professor says something important, write it down in your primary tool right then. Do not tell yourself you will transfer it later from a napkin or a sticky note. You will not.
- Process weekly. Set a recurring thirty-minute block every Sunday. During this time, move any stray notes into the right folders, clean up messy lecture notes, and flag anything you do not understand.
- Review before class. Spend five minutes before each lecture skimming your notes from the previous session. This single habit dramatically improves retention because it reactivates the neural pathways right before you add new information.
Common Pitfalls to Avoid
- Perfectionism. Your notes do not need to look like a Pinterest board. Legible and findable beats pretty and abandoned.
- Tool hopping. If you switch apps mid-semester, you split your knowledge base in two. Commit to your choice for at least one full semester before evaluating alternatives.
- Over-highlighting. If everything is highlighted, nothing is highlighted. Limit yourself to three key ideas per lecture.
- Skipping the review step. Taking notes without reviewing them is like buying groceries and letting them rot. The review is where learning actually happens.
Your 30-Minute Checklist
Here is the quick reference version you can follow right now:
- Pick your primary notetaking tool (5 min)
- Create semester and course folders with "Lectures," "Assignments," and "Review" subfolders (10 min)
- Build a lecture template, an assignment template, and a review template (10 min)
- Schedule your weekly processing block and commit to the three habits (5 min)
That is thirty minutes of setup for an entire semester of organized, searchable, stress-reducing notes. For more, read our guide to digital note-taking for students or get started with your first canvas. Start before the first day of class, and you will already be ahead of ninety percent of your classmates.
Ready to try spatial notetaking?
OmniCanvas is a free infinite canvas app for notes, sketches, and ideas.
Try OmniCanvas FreeNo credit card — or explore the interactive demo first, no account needed.
Keep reading
How to Set Up Your OmniCanvas Workspace for Maximum Productivity
Best practices for setting up your folder structure, choosing a tagging system, configuring dark mode, and establishing a workflow.
SeasonalSpring Cleaning Your Digital Notes: A Step-by-Step Guide
An annual note cleanup guide: archive old projects, delete stale notes, reorganize folders, prune tags, and start fresh.
GuidesDigital Notetaking Tips for Students: A Complete Guide
Master digital notetaking as a student. Learn the best methods, tools, and habits for taking notes that actually help you study and retain information.