Getting Started with OmniCanvas: A Beginner's Tutorial
Free spatial notes
Put this workflow on an infinite canvas instead of another linear doc.
OmniCanvas runs in the browser, syncs with the Mac app, and starts free.
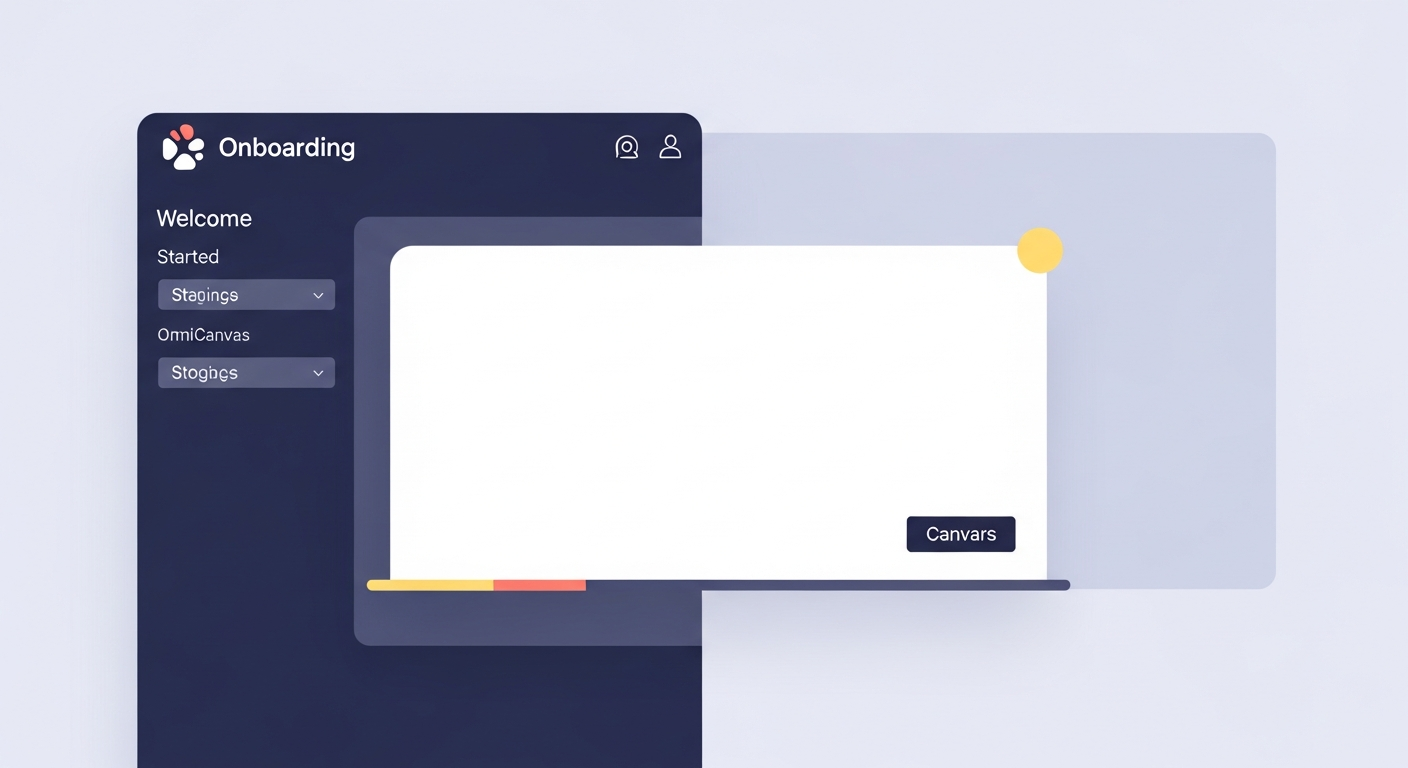
Welcome to OmniCanvas
OmniCanvas is an infinite spatial notetaking app that lets you think visually. Instead of writing notes in a linear document, you place ideas, drawings, and sticky notes on a boundless two-dimensional canvas. If you have ever felt limited by traditional note apps, you are in the right place.
This tutorial walks you through everything you need to know to start using OmniCanvas confidently. By the end, you will have created your first note, drawn on the canvas, added sticky notes, organized your work with folders and tags, and explored the different views available to you.
Step 1: Create Your First Note
When you open OmniCanvas for the first time, you will see an empty workspace. To create your first note, click the New Note button. A fresh infinite canvas opens up immediately — this is your blank slate.
Every note in OmniCanvas is a canvas. There are no separate "document" and "drawing" modes. Everything lives together on the same surface, which means you can mix freehand sketches, typed text, shapes, and sticky notes in a single note.
Give your note a title by clicking the title area at the top. Choose something descriptive so you can find it later — titles are fully searchable.
Step 2: Draw on the Canvas
The canvas is powered by Excalidraw, a powerful drawing engine that feels natural and responsive. Along the toolbar you will find tools for:
- Rectangles — great for outlining sections or creating simple diagrams
- Ellipses — useful for mind map nodes or highlighting concepts
- Arrows and Lines — connect ideas visually and show relationships
- Freehand Drawing — sketch anything with a pencil-like tool
- Text — click anywhere and start typing to place text directly on the canvas
Try drawing a few shapes and connecting them with arrows. You will notice that arrows snap to shape edges, making it easy to create clean diagrams without fussing over alignment.
You can select any element, resize it, change its color, or move it around. The canvas is infinite, so you never run out of room. Zoom in for detail work and zoom out to see the big picture.
Step 3: Add Sticky Notes
Sticky notes are one of the most useful features in OmniCanvas. They sit on top of your canvas and support rich text editing, making them perfect for longer-form writing alongside your visual content.
To add a sticky note, use the sticky note tool in the toolbar. Click anywhere on the canvas to place it, then start typing. You can choose from six different colors to visually categorize your sticky notes — for example, yellow for ideas, blue for questions, and green for action items.
Sticky notes are fully searchable. When you use the search feature later, OmniCanvas looks inside your sticky note text along with everything else.
Step 4: Organize with Folders
As you create more notes, you will want to keep them organized. OmniCanvas uses a hierarchical folder system that works just like folders on your computer.
Click on Folders in the sidebar to create your first folder. You might start with broad categories like "Work," "Personal," and "Learning." You can nest folders inside each other to create deeper organization — for example, "Work > Project Alpha > Meeting Notes."
To move a note into a folder, select the note and choose the folder from the note options. A single note can live in multiple folders if it belongs to more than one category.
Step 5: Add Tags for Flexible Organization
While folders give you rigid hierarchy, tags give you flexible cross-cutting organization. You can add tags to any note, and a note can have as many tags as you like.
Good starter tags might include things like "important," "in-progress," "reference," or "idea." Tags work alongside folders, so you can organize the same notes in two different ways simultaneously.
Tags are also searchable and appear as connections in the knowledge graph, which we will explore in a moment.
Step 6: Explore Different Views
One of the things that makes OmniCanvas unique is that you can view your notes in multiple ways. Each view offers a different perspective on the same underlying data:
- Grid View — see your notes as visual cards in a grid layout, perfect for browsing
- List View — a compact list with titles and metadata, great for scanning quickly
- Table View — a spreadsheet-like view with sortable columns for dates, tags, and folders
- Kanban View — organize notes into columns, ideal for tracking project stages
- Graph View — a knowledge graph that visualizes connections between notes, folders, and tags
Try switching between views to see how they change your perspective. Many users find that different views are useful for different tasks — grid for creative browsing, list for quick lookup, kanban for project management.
Step 7: Search Everything with Cmd+K
Press Cmd+K (or Ctrl+K on Windows and Linux) to open the universal search. This is one of the fastest ways to navigate your workspace.
OmniCanvas search looks through note titles, tags, folder names, canvas text, and sticky note content. Start typing and results appear instantly. Select a result to jump straight to that note.
As your collection grows, search becomes indispensable. Get in the habit of using it early so it becomes second nature.
Next Steps
You now know the fundamentals of OmniCanvas. Here are a few things to try next:
- Pin important notes so they always appear at the top of your list
- Try dark mode from the settings if you prefer a darker interface
- Export a note to PDF to share your canvas with someone who does not use OmniCanvas
- Enable cloud sync to keep your notes available across devices
- Explore the knowledge graph to discover connections you did not know existed
For deeper dives, follow our step-by-step first canvas walkthrough, learn how to set up your workspace for maximum productivity, and if you are on Windows or Linux, see using OmniCanvas on the web.
The best way to learn OmniCanvas is to use it for something real. Pick a project, a course, or a personal goal and start capturing your thoughts on the canvas. The spatial layout will help you see relationships between ideas that linear notes would hide.
Ready to try spatial notetaking?
OmniCanvas is a free infinite canvas app for notes, sketches, and ideas.
Try OmniCanvas FreeNo credit card — or explore the interactive demo first, no account needed.
Keep reading
Your First Canvas: A Step-by-Step Walkthrough
A focused tutorial on creating your first canvas note — drawing shapes, adding text, using sticky notes, and saving your work.
Getting Started10 Things to Try in Your First Week with OmniCanvas
A checklist of features to explore in your first week, from basic canvas drawing to the knowledge graph, to help you discover what OmniCanvas can do.
Getting StartedOmniCanvas Keyboard Shortcuts and Power User Tips
Keyboard shortcuts (Cmd+K for search, etc.), power user workflows, and tips for working faster in OmniCanvas. Cover canvas drawing shortcuts from Excalidraw too (R for rectangle, O for oval, A for arrow, T for text, etc).