Your First Canvas: A Step-by-Step Walkthrough
Free spatial notes
Put this workflow on an infinite canvas instead of another linear doc.
OmniCanvas runs in the browser, syncs with the Mac app, and starts free.
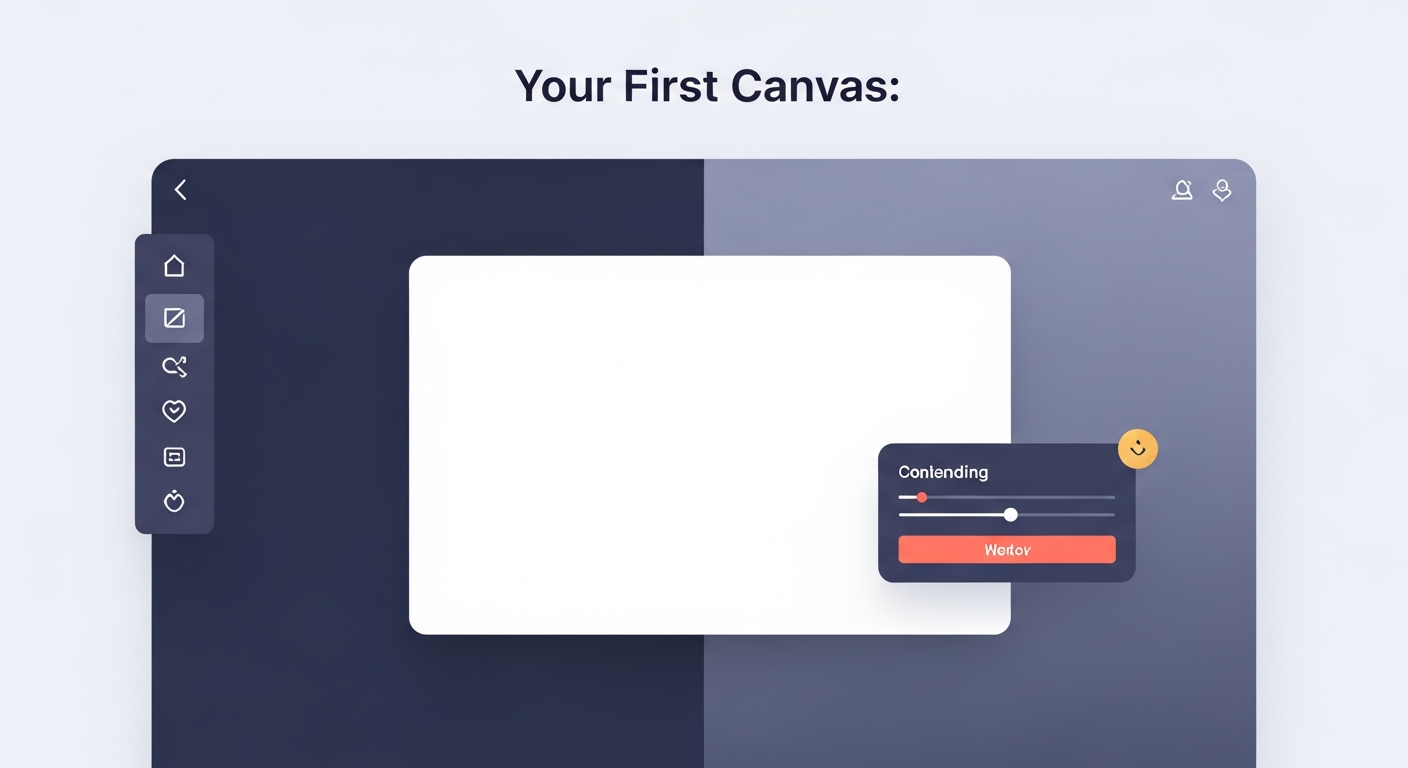
Creating Your First Canvas
This is a focused, hands-on tutorial. By the end, you will have a canvas note with shapes, text, connections, and sticky notes. Open the free online whiteboard and follow along — and if you want the full feature tour first, start with our beginner's guide to OmniCanvas.
Start a New Note
Click the New Note button to create a fresh canvas. Give it a title — something like "My First Canvas" works fine for now. The title field is at the top of the screen. You can always rename it later.
You are now looking at an infinite canvas. There is no edge, no page boundary, and no limit to how much you can put here. Scroll by clicking and dragging on empty space, or use a trackpad gesture to pan around. Pinch to zoom or use Ctrl+Scroll to zoom in and out.
Draw Your First Shape
Select the rectangle tool from the toolbar. Click and drag anywhere on the canvas to draw a rectangle. Do not worry about getting it perfect — you can resize and reposition it at any time.
Now try changing the rectangle. Click on it to select it, and you will see handles on the corners and edges. Drag a corner to resize. Use the color options in the toolbar to change the fill or stroke color. Try making it a soft blue with a darker border.
Draw a second rectangle nearby. Position it to the right of the first one, leaving a gap between them.
Connect Shapes with Arrows
Select the arrow tool from the toolbar. Click on the edge of your first rectangle and drag to the edge of your second rectangle. The arrow automatically snaps to the shape boundaries, creating a clean connection.
This is the foundation of diagramming in OmniCanvas. Arrows maintain their connections when you move shapes around. Try dragging one of your rectangles to a new position — the arrow follows.
Create a few more shapes and connect them. Try using ellipses for a different look. Mix rectangles and ellipses connected by arrows and you have the beginnings of a flowchart or mind map.
Add Text to the Canvas
Select the text tool and click anywhere on the canvas. A text cursor appears. Type a label — for example, "Main Idea" — and click away to place it. You can also double-click inside any shape to add text directly to that shape.
Go back to your rectangles and double-click inside each one. Type a label in each — maybe "Step 1" and "Step 2." The text becomes part of the shape and moves with it.
Text on the canvas is fully searchable. When you use Cmd+K search later, OmniCanvas will find text placed directly on shapes as well as text in sticky notes and titles.
Place Sticky Notes
Sticky notes are different from canvas text. They are floating panels that support rich text and come in six colors: yellow, blue, green, pink, purple, and orange.
Add a sticky note using the sticky note tool. Click on the canvas to place it, then start typing. Write a few sentences — maybe a description of what your diagram represents or some notes about what each step involves.
Try adding a second sticky note in a different color. Color-coding sticky notes is a great way to visually distinguish types of content. For example:
- Yellow for general notes
- Blue for questions you need to answer
- Green for completed items or decisions
- Pink for warnings or blockers
- Purple for creative ideas
- Orange for action items
Position your sticky notes near the relevant parts of your diagram. This spatial proximity makes it obvious which notes relate to which elements.
Arrange Your Canvas
Now step back and look at what you have created. You should have several shapes connected by arrows, some canvas text, and a couple of sticky notes. This is a good time to arrange everything into a layout that makes sense.
Select multiple elements by clicking and dragging a selection box around them. You can then move the entire group at once. Use this to cluster related items together.
Zoom out to see your entire canvas at once. Does the layout tell a story? Is the flow clear? Spatial arrangement communicates meaning — items that are close together feel related, and arrows show direction and dependency.
Save and Revisit
OmniCanvas saves your work automatically. Every change you make is persisted to local storage immediately. If you have cloud sync enabled, your canvas also syncs to the cloud so you can access it from other devices.
Close the canvas and return to your notes list. You should see your new note with its title. Open it again to confirm everything is exactly as you left it.
Practice Ideas
Now that you know the basics, here are some quick projects to practice with:
- Draw a simple flowchart for a process you follow regularly, like your morning routine or a work approval process
- Create a mind map with a central concept and branches radiating outward, each with sticky notes for details
- Sketch a project plan with phases as rectangles, dependencies as arrows, and sticky notes for key deliverables
- Map out a decision with options as shapes and pros and cons as sticky notes in different colors
Each of these exercises will help you build muscle memory with the canvas tools. The more you use them, the more naturally you will reach for shapes, arrows, and sticky notes when capturing your thoughts.
Ready to try spatial notetaking?
OmniCanvas is a free infinite canvas app for notes, sketches, and ideas.
Try OmniCanvas FreeNo credit card — or explore the interactive demo first, no account needed.
Keep reading
Getting Started with OmniCanvas: A Beginner's Tutorial
A step-by-step walkthrough for new users: creating your first note, drawing on the canvas, adding sticky notes, organizing with folders and tags, and exploring different views.
Getting StartedOmniCanvas Keyboard Shortcuts and Power User Tips
Keyboard shortcuts (Cmd+K for search, etc.), power user workflows, and tips for working faster in OmniCanvas. Cover canvas drawing shortcuts from Excalidraw too (R for rectangle, O for oval, A for arrow, T for text, etc).
Getting Started10 Things to Try in Your First Week with OmniCanvas
A checklist of features to explore in your first week, from basic canvas drawing to the knowledge graph, to help you discover what OmniCanvas can do.