How to Plan a Presentation with Spatial Notes
Stop Starting in Your Slide Tool
Most people plan presentations by opening their slide software and typing bullet points onto blank slides. This approach leads to bloated decks, unclear narratives, and the dreaded experience of rearranging slides for hours trying to find a logical flow. The problem is not the slide tool. The problem is that slide tools force you into a linear, one-slide-at-a-time view before you have figured out your story.
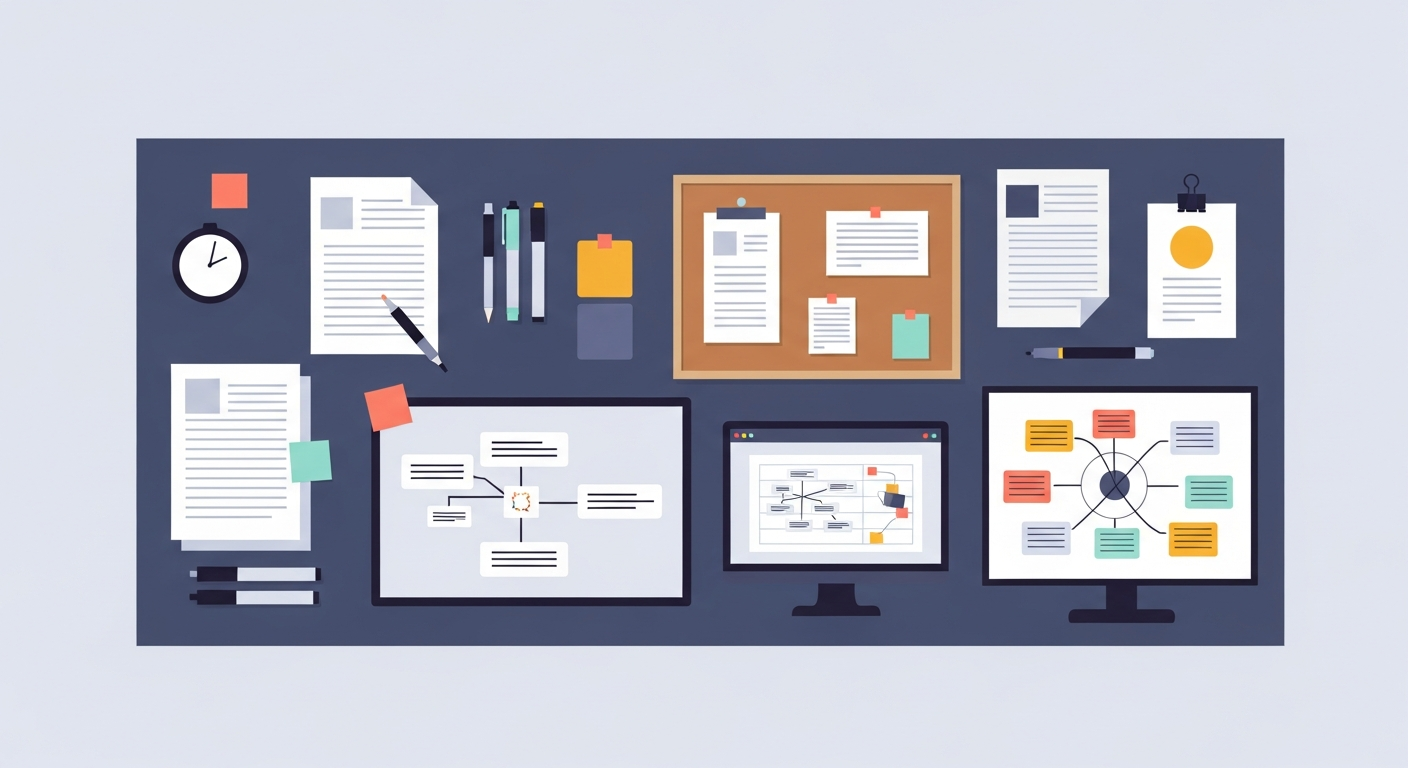
Spatial notes solve this by giving you a wide-open canvas where you can dump all your ideas, find the narrative thread, and structure your argument before you create a single slide.
Phase One: Brain Dump
Open a blank canvas and spend fifteen minutes getting everything out of your head. Write each idea, data point, story, and argument as a separate card. Do not organize yet. Do not judge. Just capture.
For a thirty-minute presentation, you might end up with forty to sixty cards. That is fine. The goal is completeness, not polish. Include:
- Key messages you want the audience to remember
- Supporting data points or statistics
- Stories and anecdotes that illustrate your points
- Counterarguments you need to address
- Questions the audience might ask
- Visual ideas for charts, diagrams, or images
Scatter these across the canvas without any structure. This freeform capture phase is where spatial notes excel because there is no outline forcing you into a premature hierarchy.
Phase Two: Find the Narrative Arc
Now step back and look at your cards. Start dragging related ideas together into clusters. You will naturally see three to five major groupings emerge. These clusters become the sections of your presentation.
The Three-Act Structure
Most effective presentations follow a three-act structure:
- Setup — establish the problem or opportunity. Why should the audience care?
- Exploration — present your analysis, evidence, and argument. Walk the audience through your reasoning.
- Resolution — deliver your recommendation, call to action, or key takeaway.
Arrange your clusters along a horizontal line following this arc. Place your setup clusters on the left, exploration in the middle, and resolution on the right. You now have a visual map of your entire presentation.
Identify the Through Line
Look for the single sentence that connects your setup to your resolution. This is your through line, the core argument or message that every slide should support. Write it in large text at the top of your canvas. Every card that does not serve this through line should be moved to a "parking lot" area at the edge of the canvas. You might use these ideas in a Q&A session or a follow-up document, but they do not belong in the presentation.
Phase Three: Sequence and Refine
Within each cluster, arrange the cards in the order you want to present them. This is where you decide whether to lead with data and then tell a story, or open with a story and then present supporting evidence.
The One-Idea-Per-Slide Rule
Each card on your canvas should map to roughly one slide. If a card contains multiple ideas, split it. If two cards say essentially the same thing, merge them. This discipline keeps your deck focused and prevents the information overload that loses audiences.
Transition Planning
Pay attention to the gaps between clusters. These transitions are where presentations often stumble. On your canvas, write a brief transition note between each section: "Now that we have seen the problem, let us look at what the data tells us" or "This brings us to the critical question." Planning transitions spatially ensures your presentation flows rather than lurches from topic to topic.
Phase Four: Visual Planning
Before leaving the canvas, make visual notes on each card. Sketch rough ideas for how each slide should look. Should this data be a bar chart or a line graph? Should this story be accompanied by a photograph or told over a blank slide? These visual annotations save enormous time when you finally open your slide tool because you already know what each slide needs.
OmniCanvas is particularly useful here because you can draw rough sketches directly on the canvas alongside your text notes, keeping everything in one place.
Phase Five: Build the Deck
Only now do you open your slide software. With your canvas as a reference, building the deck becomes an execution task rather than a creative task. You know the narrative arc, the sequence of ideas, the transitions, and the visual approach for each slide. Most presenters find that this phase takes half the time it normally would because all the hard thinking happened on the canvas.
The Rehearsal Loop
After building your first draft of slides, return to your canvas. Run through the presentation mentally while looking at your spatial plan. Does the flow still hold? Are there any sections that feel too long or too thin? Move cards around on the canvas and update the deck to match. This back-and-forth between canvas and slides is faster and more productive than rearranging slides directly.
Common Pitfalls to Avoid
- Skipping the brain dump — jumping straight to organization means you will miss ideas
- Keeping too many ideas — a focused presentation beats a comprehensive one every time
- Ignoring transitions — the space between sections matters as much as the sections themselves
- Over-designing on the canvas — keep it rough and fast; the polish happens in the slide tool
A presentation planned spatially is a presentation with a clear story, a tight structure, and confident delivery. The canvas does the hard thinking so you can focus on connecting with your audience.
Ready to try spatial notetaking?
OmniCanvas is a free infinite canvas app for notes, sketches, and ideas.
Try OmniCanvas Free